- HubPages»
- Arts and Design»
- Crafts & Handiwork»
- Textiles»
- Embroidery
How to Make a Cross Stitch Tea Box

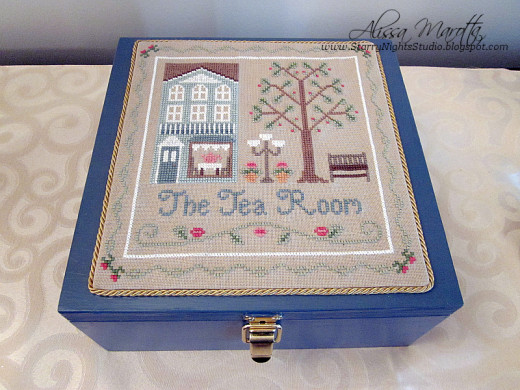
Tea boxes are wonderful ways of organizing and showcasing your tea bags. Standard tea boxes are available in many sizes, shapes and designs, but a cross-stitched tea box adds extra special charm. It’s also a different, unique way to finish some of the cross-stitched patterns you have laying around and don’t know what to do with.
What You Will Need
- Wooden box
- Finished cross stitch project
- Mounting or foam mounting board
- Heavy-duty tape
- Craft glue
- Trim
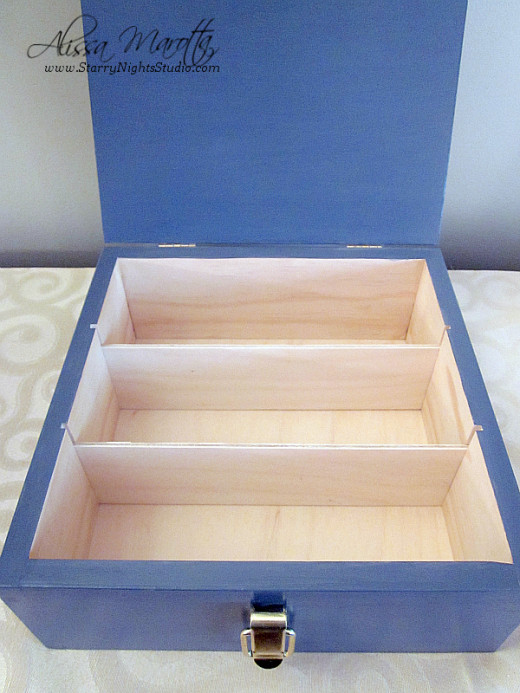
A tea box should be large enough to hold at least 12 tea bags, so you will want a box that is at least 7”. Depending on the pattern of your choice, you can choose to use a rectangular or square box. For this particular project, I used a 9x9” box. The box was not originally intended to be a tea box, so therefore, three slits had to be cut out, with three thin pieces of wood to be able to fit inside forming the removable dividers.
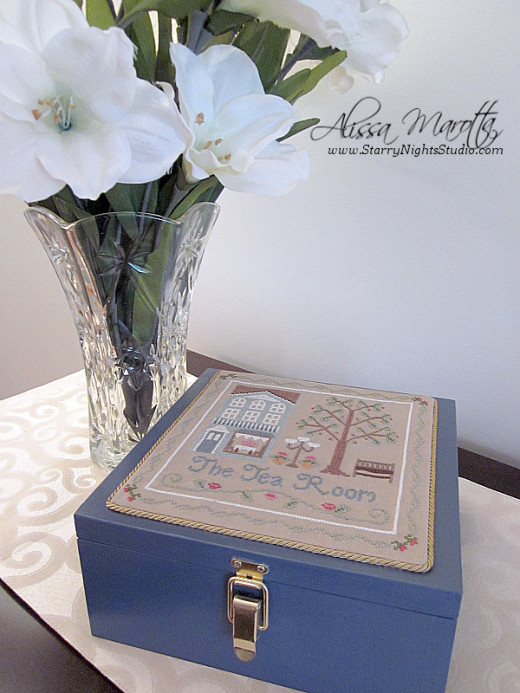
Next, the box will need to be stained or painted. If you choose to paint your box, acrylic paint will work best. It goes on smooth, dries fast, and won’t peel off. Use two coats to ensure full coverage and then once the paint is dry, add a layer or varnish or wood sealer for extra durability. You may or may not choose to paint or stain the inside of the box itself.
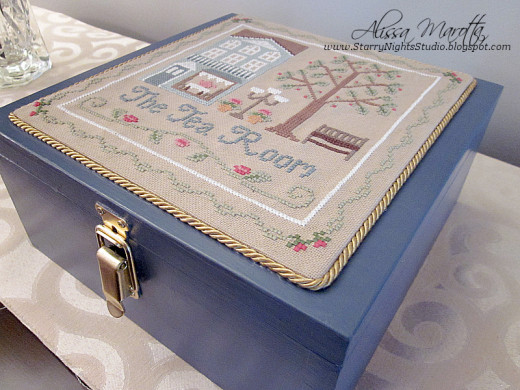
To mount your cross-stitched project to your box top, cut a piece of mounting or foam mounting board just slightly larger than your finished pattern. You may choose to cover the entire box top, or just the center. If you use mounting board that is self-sticking, simply stick your pattern to the top of the mounting board, and tightly pull your ends around to the back. (You can tape the excess fabric to the back of your mounting board, or stitch the ends together.)
Your mounting board with your finished stitching project can now be glued directly to your painted or stained box. Once dry, you may choose to leave it this way, or add a little trim around the edges for a more finished look.
For an extra touch, line the bottom of the box with felt or add felt rounds to the corners.


